
How to Sharpen Pastel Pencils
Jun 05, 2024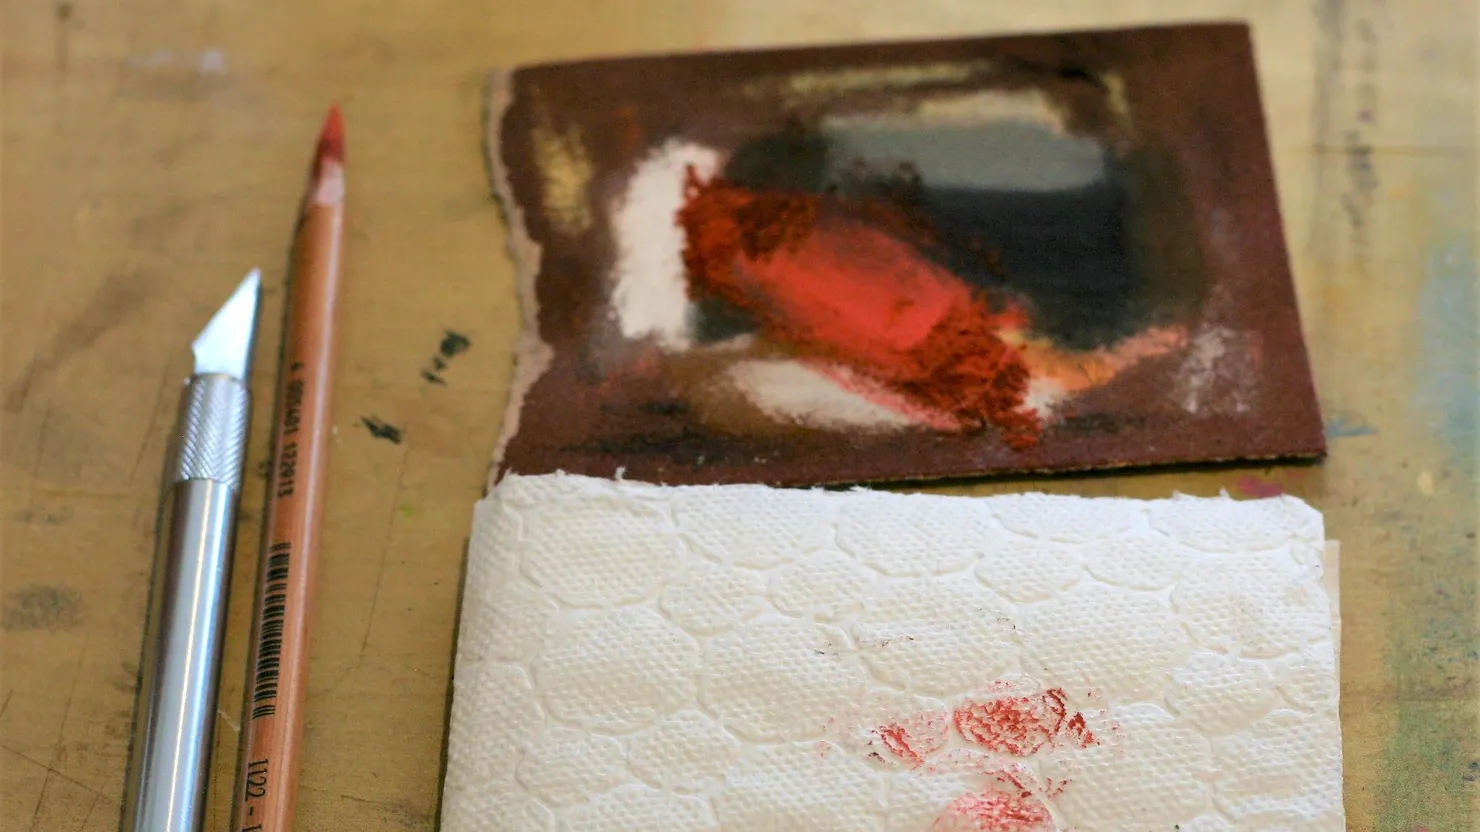
As a pastel pencil artist, I get asked a few things very regularly and one is, ‘how do you sharpen your pencils?’. It might seem like a straightforward question but it’s actually difficult!
Why Pastel Pencil Sharpeners Don’t Work Well
Pastel pencils are wonderful tools but they are prone to shattering. In order to form a beautiful point, they require a little love and care. If you try to sharpen one in a pastel pencil sharpener, it will give you a short point that blunts quickly and is likely to crumble.
Teaching people the best way to sharpen their pastel pencils is something I place great emphasis on. I begin each art class with a breakdown of all the materials I use and why I specifically use those masterials. Students are sometimes bemused by the apparently fussy method I insist on – why bother when you can have it so much easier? However, it achieves great results!
You can find a list of my favourite materials here.
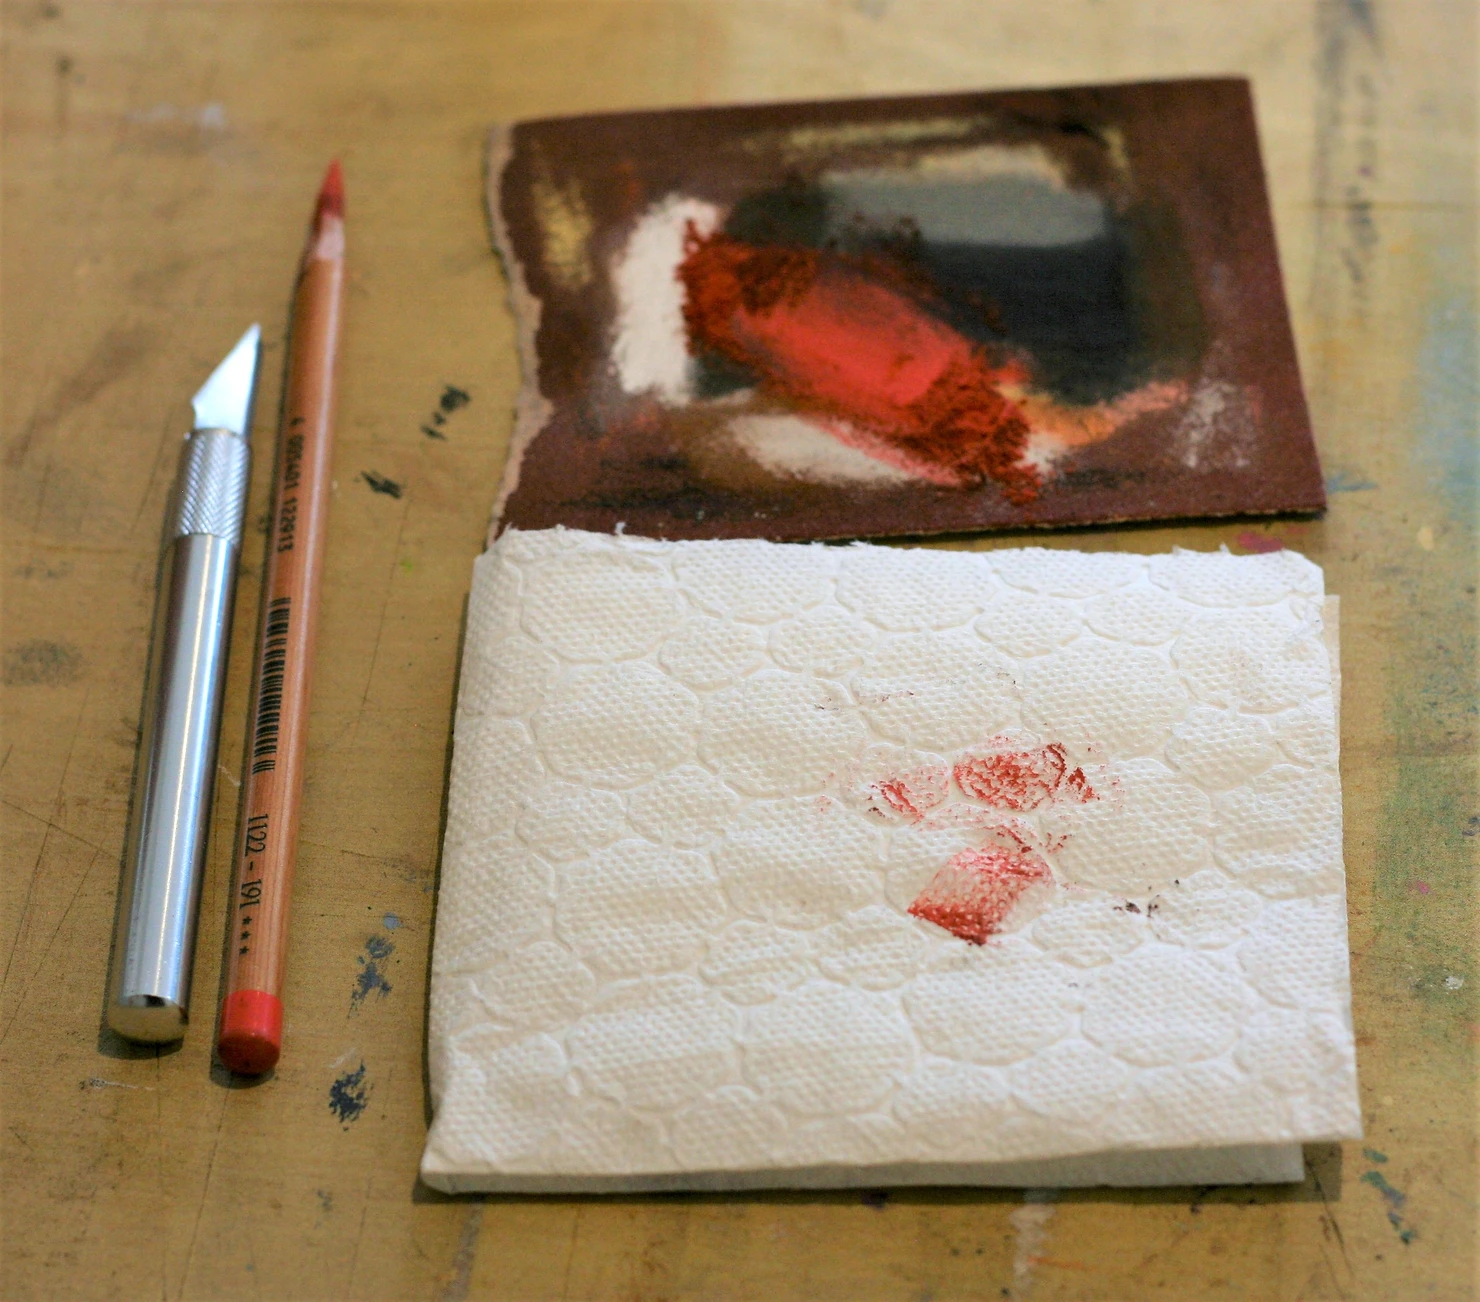
Materials to Sharpen a Pastel Pencil
- To sharpen your pencils, you will need:
- Fine/Mid grain sanding paper (150/180 works)
- Tissue
- A craft knife
- A bowl for shavings
How to Sharpen Pastel Pencils (No Pastel Pencil Sharpener Needed!)
Step 1: Shave the wood with a craft knife
To begin, use your dominant hand. Take the craft knife and rest the BLUNT of the blade against your thumb. You need to hold the knife in this slightly awkward grip to steady the blade. If you don’t, the knife can shoot off and snap the pastel with it. Gently whittle away the wood around the pencil into your waiting bowl.
The best way to sharpen your pastel pencils is to think about gliding the blade along the wood, instead of digging it into the pencil.
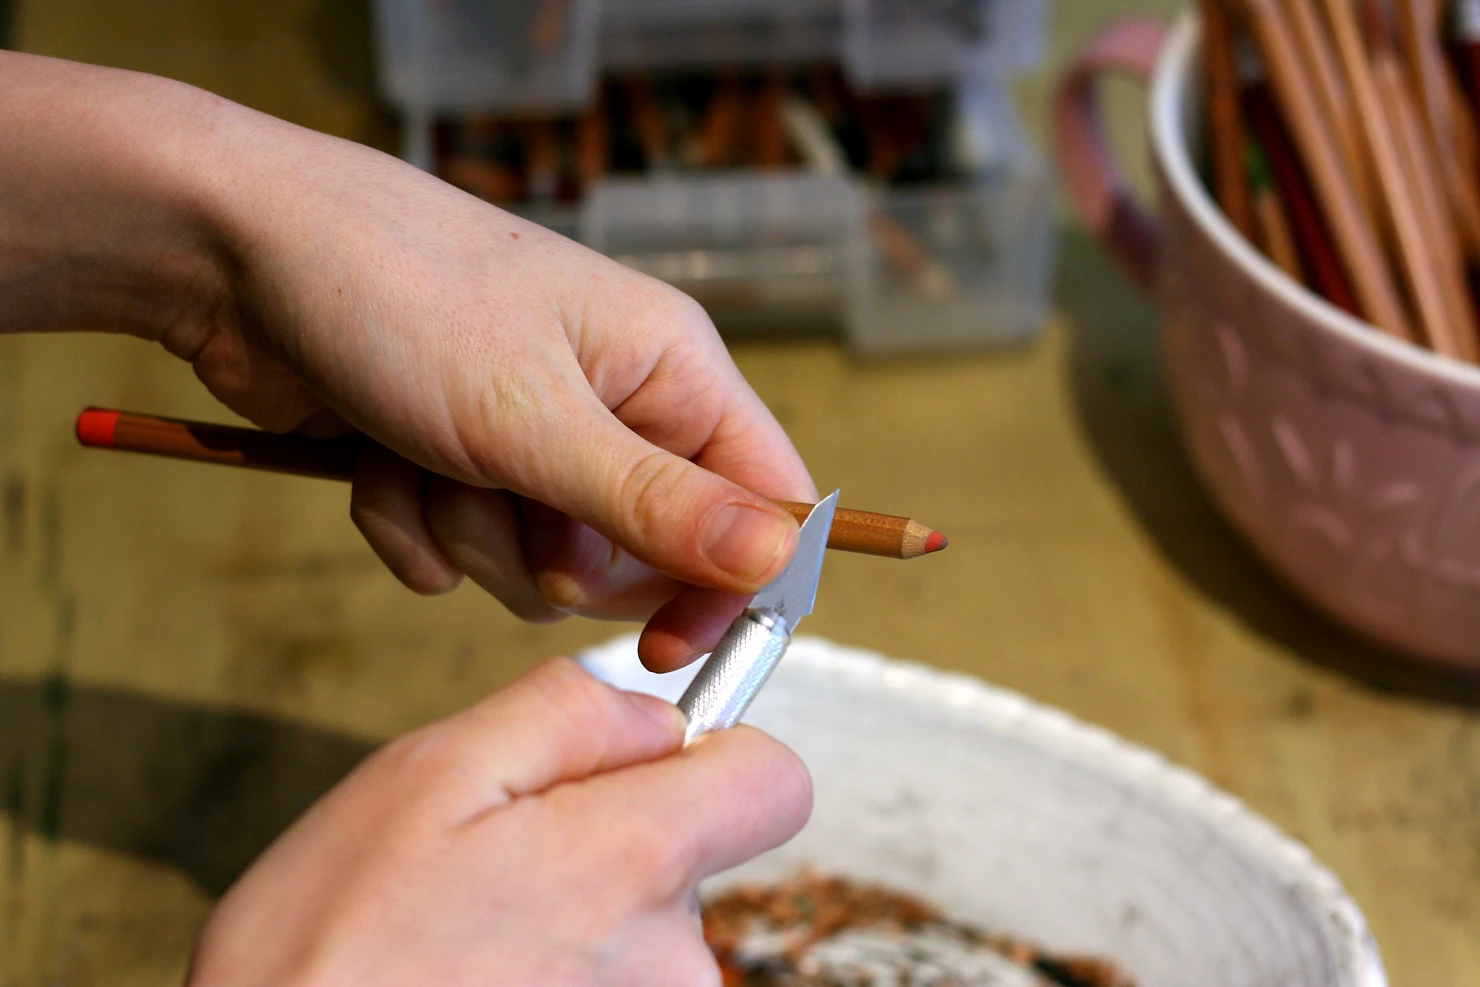
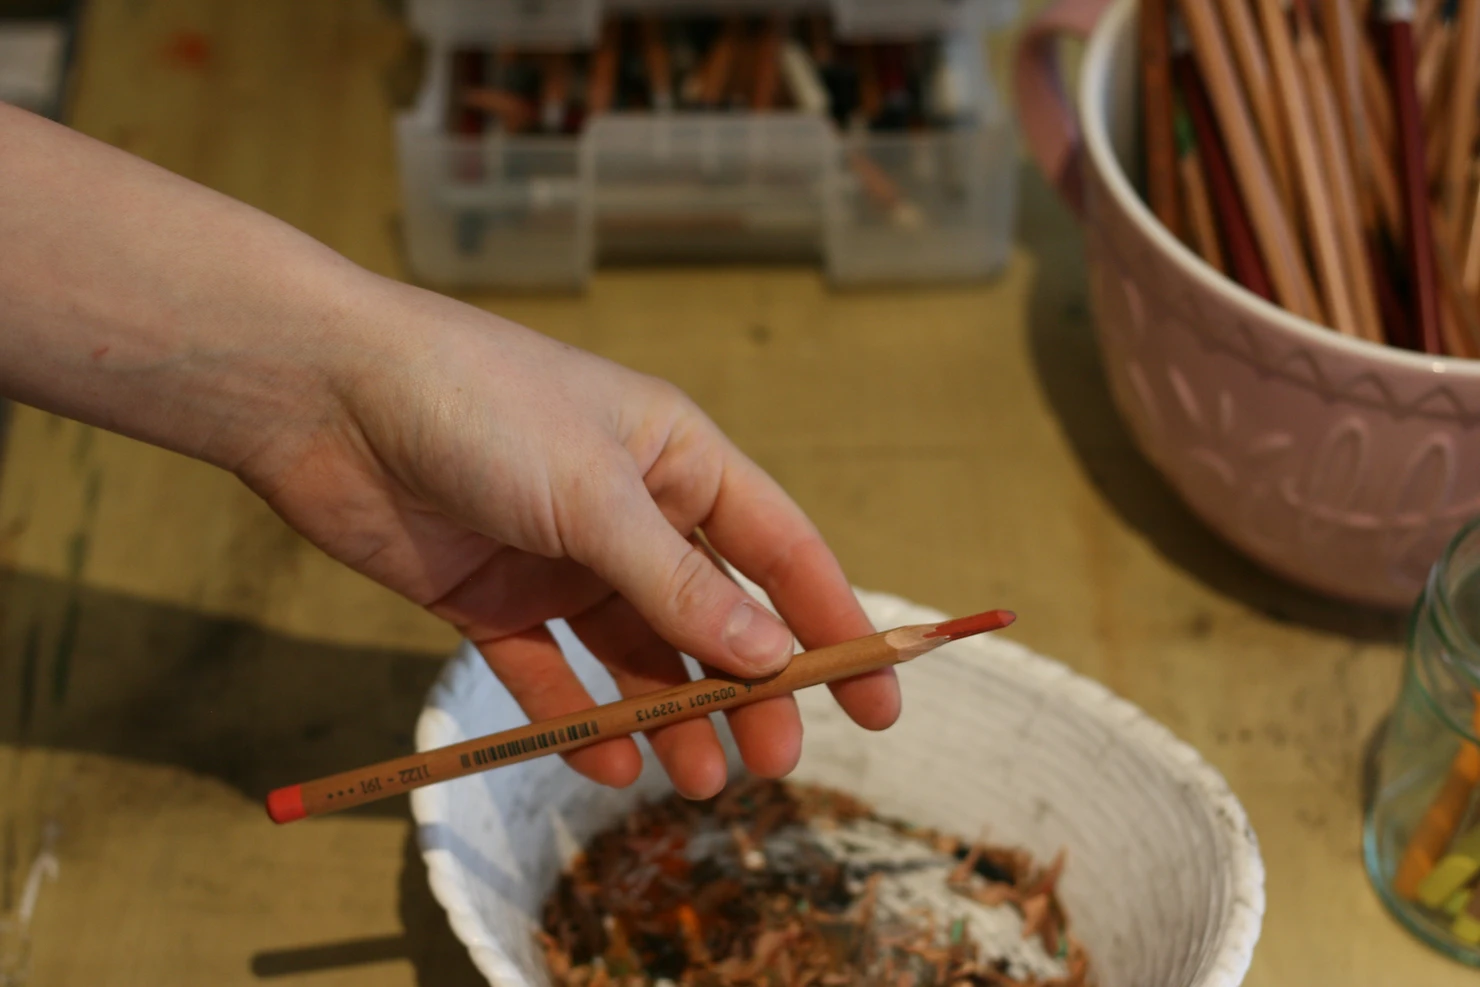
When you have exposed around a half inch of pastel, like below, you are ready for step number two. Now would be a good time to put the knife somewhere safe.
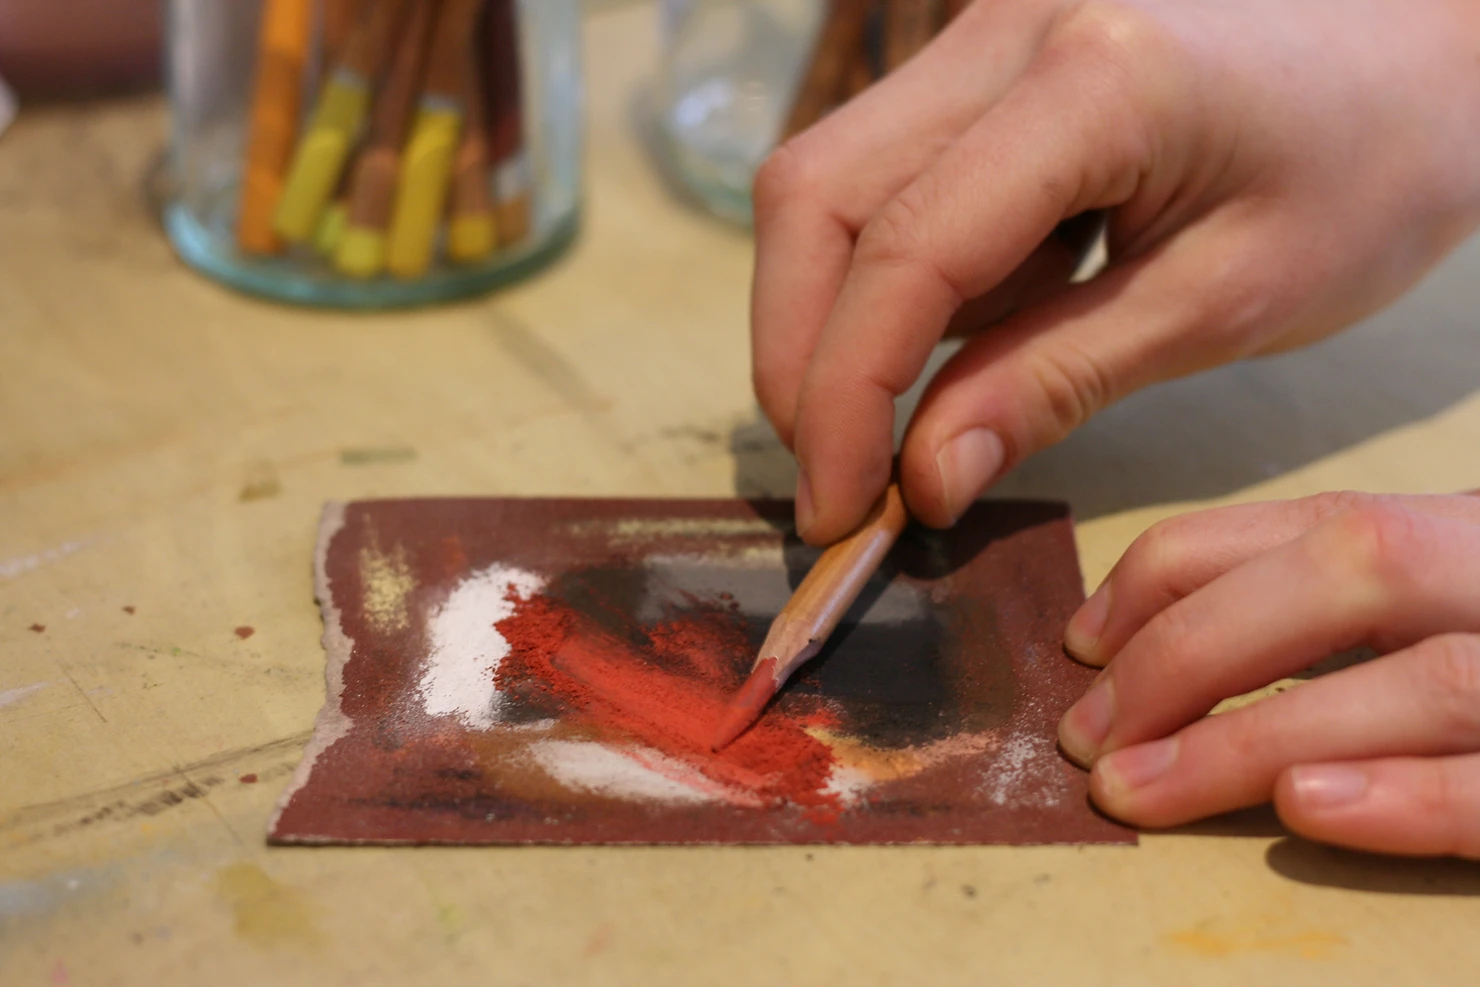
Step 2: Sanding the Pastel Pencil
To begin sanding your pencil, perch your fingers on one side of the pencil so that the bottom edge is exposed. This allows it to be nearly flush with the table and get as much pastel in contact with the sanding paper as possible.
This is important for two reasons; so that the pressure is evenly spread and you reduce your risk of snapping, and, so that you have a long and fine point. Lightly rub your pencil on the sandpaper until you start to see a fine point emerging.
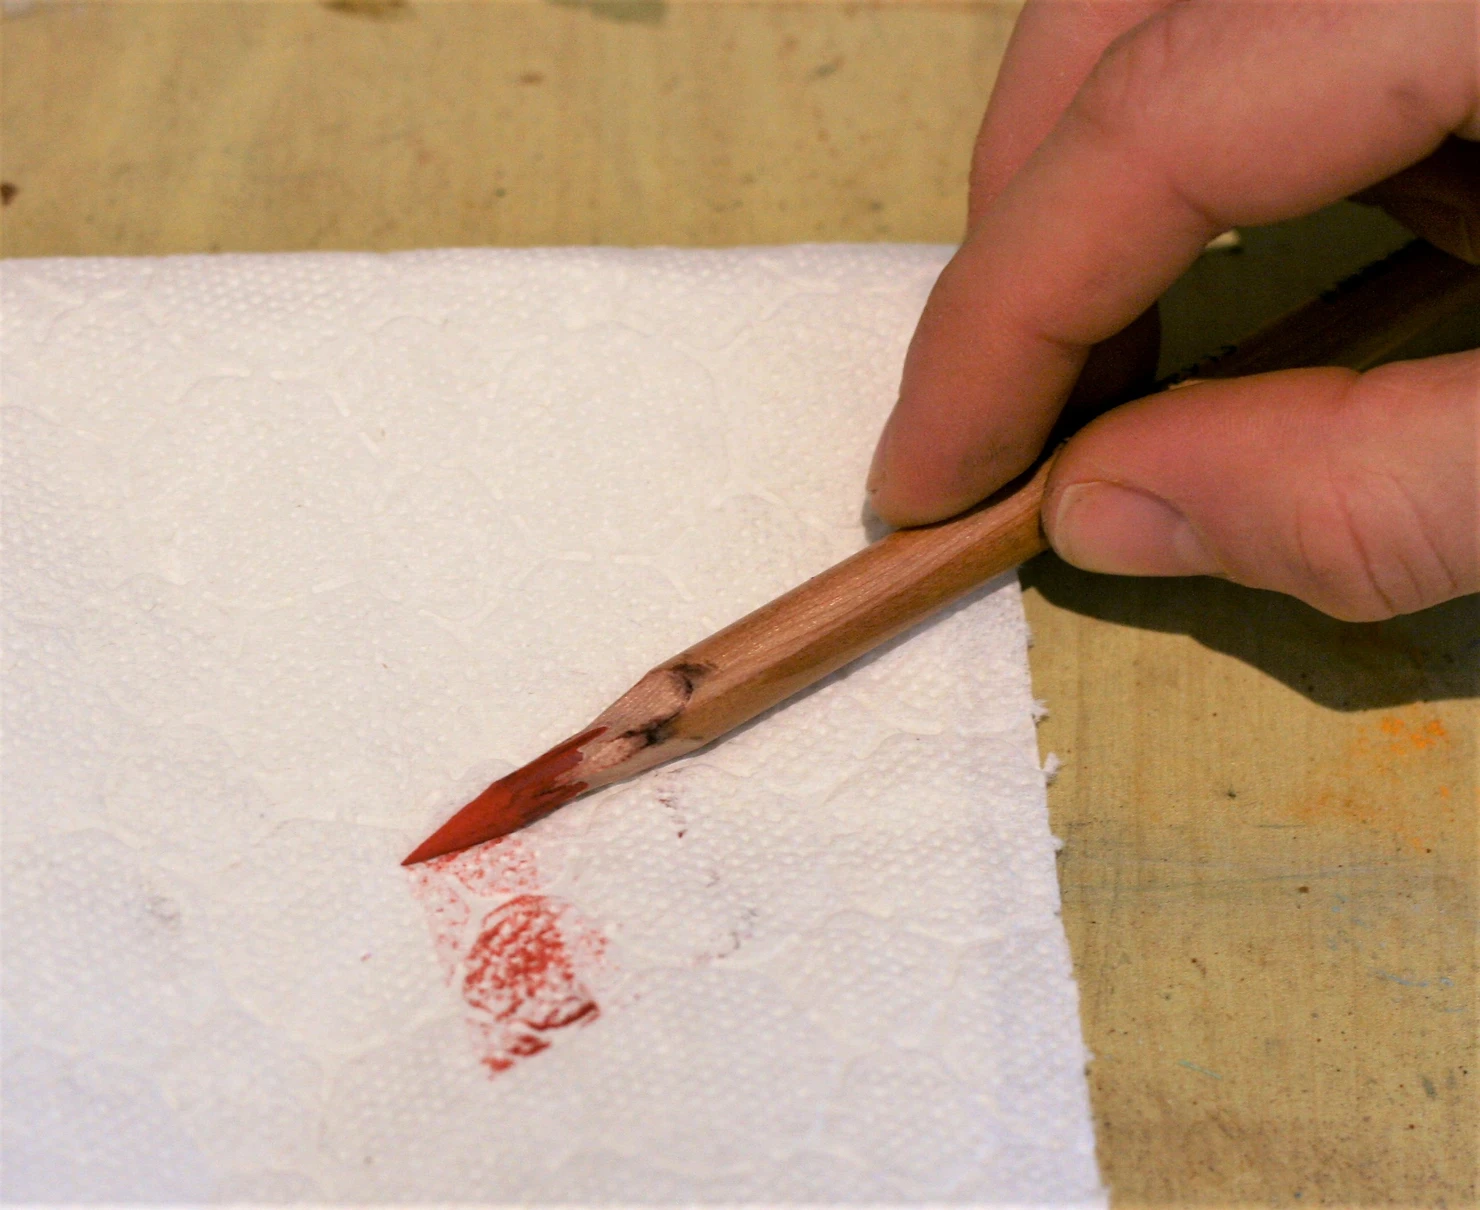
Step 3: Cleaning up
When you have achieved a point similar to the picture above, the last step is to clean it. If you don’t, you can find that pastel dust settles itself into your painting and is hard to remove.
Safely Stored Sharpened Pastel Pencils
Ta-Da! You’re done… just several hundred left to go. To keep your pencils safe after you’ve got them so lovely and sharp, here are some tips. (I also have a video for creating a mini home studio with storage solutions here).
Firstly, I have a lovely pencil holder, (like a scooped edge), on the bottom of my drawing board. This stops me from trying to hold twenty pencils at once, and then wondering why they are all over the floor…again. If you don’t have one of these, fashion your own out of half a plastic pipe screwed to the bottom edge of your desk or use a tea tray. Simply pop some kitchen towel down on the tray to make it easy to clean and to give the pencils something soft to lay on.
If you have a large amount of pencils and, like me, you pick a few out to start with, you could keep the others in jars. I use big yoghurt pots and pop some bubble wrap in the bottom so the pencils land nice and softly.
Why I don’t use a pastel pencil sharpener
So, you know how I sharpen my pastel pencils, but you may not yet be convinced by it. A pastel pencil sharpener may seem like a much faster option, and easier, but I have found otherwise.
Firstly, a pastel pencil sharpener will give you a very short point to your pencil. Pastels blunt so fast that you’ll be whizzing them back through the sharpener every five minutes! My method gives you a very long, fine, accurate tip to work with that will make drawing fur so much easier, too. For the paper I use, (read about that here), an accurate and fine point will transform how your drawing ends up. The pastelmat is a fantastic paper to work on with pastel pencils, but it’s not always easy to rub out mistakes, so a fine point makes life much easier!
Secondly, as I already mentioned, pastel pencils are very brittle. A pastel pencil sharpener just doesn’t give you the same level of control that a craft knife does (after a little practice!). It’s far easier to check your blade is sharp and modulate the pressure with this method.
Pastel Pencil Sharpener Issues
One of the issues I run into by using a pastel pencil sharpener is with the short nib. If you’ve seen any of my YouTube videos, you’ll know that I really paint with a pencil. I use it in a variety of ways to get different textures and realistic finishes.
This is only possible by using a knife instead of a pastel pencil sharpener and getting the long tip. When I have a long tip I can use the broad edge like a pastel chalk to shade huge areas or give soft, even glazes.
Changing from a pastel pencil sharpener to a knife has really improved how I draw and is such an easy change to make! I hope this helps you use your pastel pencils to the fullest of their potential and please leave a comment below with how you get on or any questions, happy drawing! xx
Stuck for where to begin?
Start with 4 free project outlines, ready to begin in pastel pencils straight away!
Keep your pastel pencil knowledge up to date!
Stay inspired and keep your pencil moving with inspiration and updates.
Don't worry, your information will not be shared.
We hate SPAM. We will never sell your information, for any reason.
